How to use the Drawing Tab
Tutorial on how to use the draw tab tools to draw on the Spaceland terrain in StarLogo TNG 1.5+
Drawing Tab
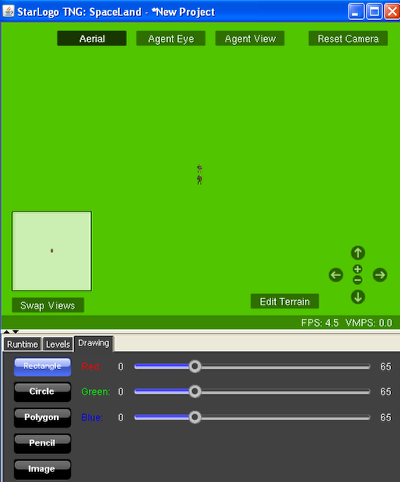
Click on the tab labeled "Drawing" in the Spaceland window. The drawing tools are selected by clicking one of the 5 buttons. Click on the Rectangle button and the RGB (red, green, blue) sliders will appear. The default values are 65, 65, 65, and the color represented by this combination is a dark gray color, as shown in the background of the drawing tab.
RGB
Move one or more of the sliders to experiment with different combinations of RGB. You'll see the background color change to reflect each new combination.
Rectangle, Circle, Polygon and Pencil tools
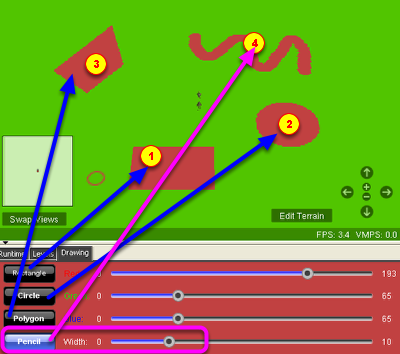
1. The rectangle tool draws a rectangle and fills it in with the RGB color.
2. The circle tool draws a circular shape (could be an oval) and fills it in with the RGB color.
3. The polygon tool draws a series of connected lines every time you click on the terrain. When you're ready to close the polygon, double-click and the last point will connect with the initial point. The polygon is filled in with the RGB color.
4. The pencil tool allows you to hold down the mouse button and draw free form as long as the mouse button is down. You can adjust the width of the pencil.
Image tool
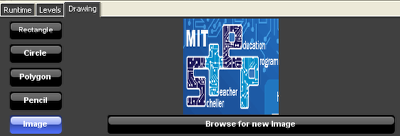
You may also put any 2D image on the terrain. Click on the Image button and then click on Browse for new image.
Put image on canvas
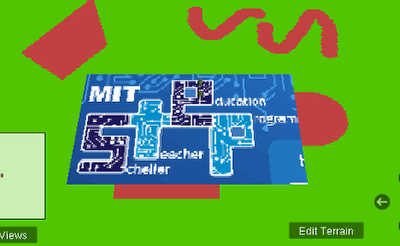
Drag out a region on the terrain where you want to put the image and you can adjust the size and ratio of the image.
Sample Code using Terrain patch colors

You may want to use terrain patch colors in your program to "trigger" an event when an agent is standing on a particular color. The above code programs the Turtles agents to die if they steps on a purple patch (R=127, G=0, B=255). See StarLogo TNG colors document for a table that show the RGB values for each of the colors blocks. There is some room for error when it comes to colors, so if you are off by a little when adjusting the RGB values, it's OK.


