How to Edit Subsets
A subset is a useful tool that lets you organize your most used blocks or blocks for a particular classroom activity in custom drawers. This tutorial will teach you how to create your own subset.
Locating Subsets

When a subset drawer is created, it will be placed in the Subsets palette. This palette can be found by clicking the left arrow next to Factory. By default, Subsets is initially empty.

Create a block subset

After clicking "Edit Block Subsets" a new window appears. In this window, we can manage our subsets that will later appear in the Subsets drawer.
1. Opening the "Edit Block Subsets" window will have a blank subset ready to be altered for our use. Clicking on "Add Subset" will create an additional subset. However, we will just work with a single subset in this tutorial.
2. When picking blocks for the subset, we can include those from the Factory or My Block palette. We can also choose to reuse blocks from an already created subset. For now, we will leave both boxes checked.
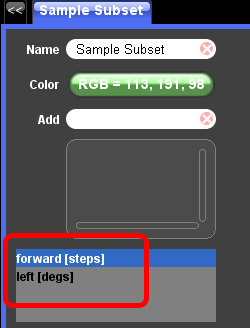
Change the Subset name and color

1. Click here to edit the name of the subset.
2. Click here to choose a color for the drawer.
Adding blocks to the subset

1. In the Add box, start typing the name of a block that you want to add, and you'll see some choices pop up as you type.
2. Double click on the block name to add that block to your subset. If there is only one block name showing, you can just hit enter to add the block.
3. You'll see the block's name added to the list.
New subset drawer
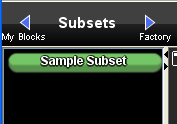
After you click OK, the Edit Subsets window closes, and you should see a new Subset drawer created in the Subsets palette with the blocks you selected for the subset.
Deleting blocks from a subset
In the Edit Subsets window, click on the block that you want to delete, and hit the delete key on your keyboard. The block should be removed from the list.